For logging into any Linux server or OpenWRT router, eg 192.168.88.1 you can simply
ssh-copy-id 192.168.88.1
Then you can simply:
ssh 192.168.88.1
To log in, and if you are using ssh-agent you don’t need to type your password. If not, the password you type will stay on your computer and not be sent to the router.
This works if you have an ssh key on the machine you’re on. This does not work on Mikrotik however, which we’ll address below.
You can check if if you have a key, by looking at your public key (which is like a lock, for your actual key):
$ cat ~/.ssh/id_rsa.pub
If one hasn’t been automatically generated for you, you can create one with:
$ ssh-keygen -m pem
Be sure to generate a 2048 or 4096 bit key - Mikrotik doesn’t support other sizes as of 2024., eg:
# todo check which key types Mikrotik support
$ ssh-keygen -b 4096 -t rsa -m pem
Also, do add a password here. This encrypts your key locally, so that you only need to unlock it locally before using it - and your password never leaves your computer. (Unless your computer is compromised!)
To unlock your key for the current terminal session (or all child sessions) - if your desktop environment doesn’t automatically do it for you, you can run:
$ eval `ssh-agent`; ssh-add
Agent pid ...
You can now insert this “lock” (your public key) into the keychain for the device you want to connect to, without having to type your password every time. This makes it possible to do things such as run commands on that device, from your local device, without having to log in, eg, check the battery voltage (so that you can log it to a file or database):
$ ssh 192.168.88.1 /sys health print terse | fromdos
0 name=voltage value=24.2 type=V
1 name=temperature value=42 type=C
Seeing as that StackOverflow’s power drunk power users are systematically deleting anything related to networking or Mikrotik, so that search engines don’t find the answers any more, I thought it would be good to post this here:
$ ssh 192.168.88.1 "/file print file=mykey; file set mykey contents=\"cat ~/.ssh/id_rsa.pub\";/user ssh-keys import public-key-file=mykey.txt;/ip ssh set always-allow-password-login=yes"
This is functionally equivalent to ssh-copy-id, but for Mikrotik routers. You can save it to a shell script, by pasting this in your terminal:
$ cat > mik-ssh-copy-id.sh
#!/bin/sh
ssh $1 "/file print file=mykey; file set mykey contents=\"`cat ~/.ssh/id_rsa.pub`\";/user ssh-keys import public-key-file=mykey.txt;/ip ssh set always-allow-password-login=yes"
(Then press Ctrl+D) and then
$ chmod +x ./mik-ssh-copy-id.sh
Now you can copy your ssh key to a Mikrotik router simply with:
$ ./mik-ssh-copy-id.sh 192.168.88.1
(Mikrotik really should modify RouterOS so ssh-copy-id just works.)
This command also keeps password logins, which are automatically disabled when you add your first key - which might be unexpected and result in locking you out from your router - hence the last part of the command. Once you are happy with your key management - and that it works, you can:
$ ssh 192.168.88.1 /ip ssh set always-allow-password-login=no
To disable password logins for this user.
This is better security practice than typing your password every time you log into a router, especially if you protect your key with a password - that way if you do type in a password, it never leaves your computer and only serves to decrypt the key that is used to authenticate the connection.
Bonus #1
To make your logins faster, for instances where you, for example, want to run multiple commands successively, in a script, or repeatedly or regularly log into the same host to check or configure things, you can tell ssh to keep your session open for a few minutes after you log out, so that it doesn’t have to spend precious seconds re-authenticating on subesquent logins:
You can add this to your /etc/ssh/ssh_config to make it system wide, or ~/.ssh/config to enable it just for the current user:
Host *
    ControlMaster auto
    ControlPath ~/.ssh/socket-%r@%h-%p
    ControlPersist 600
This example will keep the session open for up to 10 minutes after logging out, so that subequent commands do not require re-authentication.
To edit it:
vi ~/.ssh/config # for only the current user OR
sudo vi /etc/ssh/ssh_config # to edit it globally
And then press i for insert mode, paste the above. Then press : for the menu and w and Enter to save, and then : again for the menu and q and Enter to quit.
The way this works, is by creating a special file called a socket in the designated location: ~/.ssh/socket-* eg.
$ ls ~/.ssh.socket*
~/.ssh/socket-console@192.168.88.1-22
To close the connection before the timeout, just delete the socket:
rm ~/.ssh/socket-console@192.168.88.1-22
Note that the sshd program that allows you to log in in the first place, keeps its configuration in /etc/ssh/sshd_config. (Note the d!)
Review these files to understand more about how ssh works and can be configured. You can easily add custom instructions per host, using ssh_config or ~/.ssh/config.
Bonus #2
An even better security practice, if, say, you are using this for automation, would be to create a read-only key. The catch here is that first you need to create a user with full access, import the key as above, and then change the permissions. (Mikrotik doesn’t allow non “full” users to change their own passwords.)
First generate a special key and associated lock (aka. public key):
user=console
ssh-keygen -b 2048 -f $user -t ed25519
This generates the files console and console.pub. Any device that has the “lock” (console.pub) will now accept a user that tries to “unlock” it with the private key (console). It does this with public key cryptography, in a way that does not share the actual key file or password with the device you are connecting to. (This is important, because any device can theoretically capture and store your password, if you enter it - so just logging into such a compromised device once, if you use the same password everywhere, is enough to give someone nefarious access to all of your devices, because you now gave them your password. Using this method, that is not possible.)
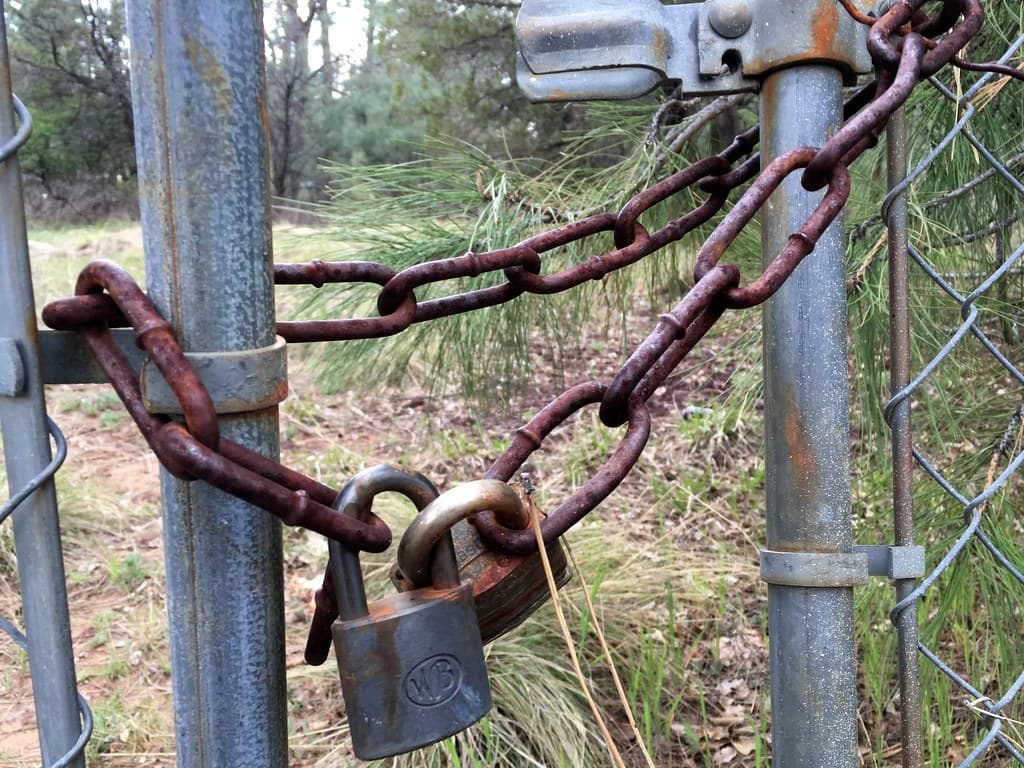
“Lock Chain” by cogdogblog is licensed under CC BY 2.0.
Now let’s add access the person with a copy of the key to this lock, by putting our “lock” on the device - meaning we copy our console.pub into it’s authorized_keys list - or it’s “string of locks” - where any of the locks can open the chain, so only the people with those keys, can. If we become aware of a key being stolen or “compromised” then we can just remove this lock from the chain instead of having to change all our passwords, or all our locks.
user=console
ip=192.168.88.1
password=`tr -dc 'A-Za-z0-9' < /dev/urandom | head -c 32`
# log in as your existing / current user to add the new user
ssh $ip /user add group=full name=$user password=$password
# log in as the new user and set their key
KEY=`cat ${user}.pub` SSHPASS=$password sshpass -e ssh $user@$ip "/file print file=mykey; file set mykey contents=\"$KEY\";/user ssh-keys import public-key-file=mykey.txt"
# echo $password # if you do want to keep it, but you really shouldn't, and also this password won't work anymore because we have not issued the command to keep password logins enabled
unset password # discard the password we used to set the key, we will always use the key because passwords are too easy to steal by a hacked router. Every time you type in your password, it can get stolen by other software running on either your local machine, or the machine on the other side!
# If you added the socket configuration from Bonus #1:
rm ~/.ssh/socket-$user@$ip-22
# this will ensure you are actually testing the key!
# if you didn't that will just say "No such file", that's ok.
# Now test the key, and use it to revoke permissions
ssh -v -i $user $user@$ip "/user set [/user find name=$user] group=read"
If it fails, the log will tell you why, eg. if you get a lines like the following:
debug1: Offering public key: ./console ED25519 SHA256:S9H1MzUzZ+Q8sZUUZYDuiJ4omX0BgWcoQXCDYq0yWMg explicit
debug1: Authentications that can continue: publickey,password
debug1: Next authentication method: password
It means that the router doesn’t support the key type - typically, it means you haven’t been updating your routers - maybe because it was too time consuming in the past? Hopefully by implementing good key management, this will change. Update it, or use an older key type.
Now you can read statistics or information such as voltages, temperatures, throughput - or do speed tests, from scripts, using a key that can not change the configuration:
ssh -i $user $user@$ip /sys health print
This is safe to deploy to cloud servers, or servers that are untrusted, as it doens’t open the door to anything more than surveillance, so no active damage can be done.
A follow up post to this might focus on how to manage your authorized_keys - or about port forwarding, using jumphosts, or proxies.
Essentially, all that ssh-copy-id does is to append your public key to a this file on the host you’re connecting to. When you log in on ssh, it scans this file and checks keys before asking for a password, which you can see happening if you log in with ssh -v 192.168.88.1 - also handy for troubleshooting.
Mikrotik has bungled ssh key authentication in a bunch of versions, so in the past it’s been common for key logins to fail.
If you’re trying to do this with older versions of RouterOS, you can try adding -oPubkeyAcceptedKeyTypes=+ssh-rsa to the ssh command, for an RSA key. If that doesn’t work, you will need to add a 1024 bit DSA key (ssh-keygen -t dsa -b 1024 -m pem) and log in with ssh -o PubkeyAcceptedAlgorithms=+ssh-dss .... For very old versions, you might have to add -o KexAlgorithms=diffie-hellman-group14-sha1 -o HostKeyAlgorithms=+ssh-dss to your ssh login command.
If either works, you can make it automatic by adding to ~/.ssh/config:
Host *
    PubkeyAcceptedKeyTypes +ssh-rsa
The Mikrotik wiki contains instructions on how to load your public key file on a router, but this is just as dumb an idea as using passwords, because just like with passwords, anybody that can physically access the router can copy out the key. You can connect through one router to another by just appending -J user@host in front of the usual ssh command.
Something that this does open up, is loading multiple keys for a single user, eg. if you use three different devices to connect to your routers, you can add a unique key for each device - and if one of your devices gets stolen, you can simply remove that key from all your devices - so name your devices so that you can easily keep track of them. (The key will by default have a name of user@device)